Converter: Image to SVG
1. Upload Your Image
Once downloaded open the app on your device. To begin the conversion process tap the blue button at the top of the in-app home screen that says “New Convert” .

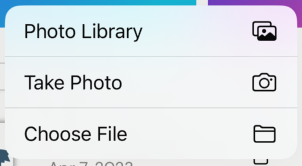
This will bring up the iOS menu asking you to select where the image you wish to convert is located. Your options are “Photo Library”, “Take Photo”, or “Choose File”. Most photos will be in your Photo Library.
Then find and select the image by tapping it. This will give you a larger preview image so you may confirm that your selection is correct. If so tap “Use” to load in the image.

2. Selecting the colors
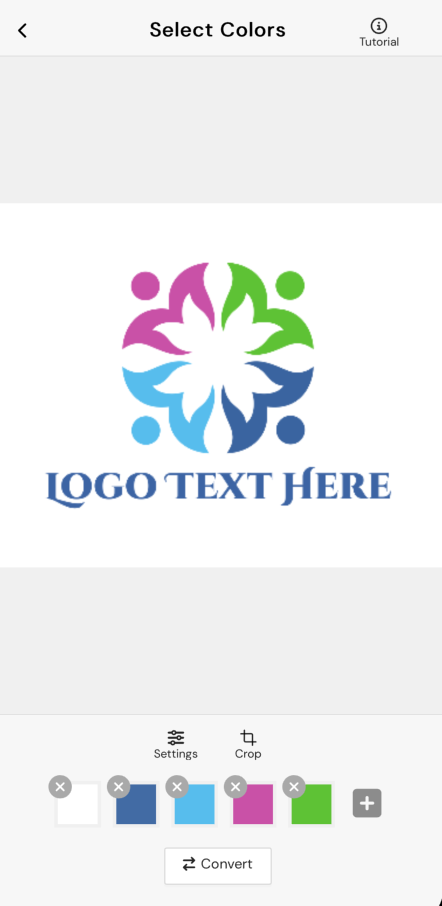
The "Select Colors" page enables you to verify and adjust the color palette detected for your uploaded image.
The default algorithm only predicts the first two colors, so if your image has more than two colors, you will need to add them manually. It is recommended that you adjust the color palette to include only the colors you want in the final SVG. Any colors not in the list will not appear in the final SVG and will be replaced with the closest color in the list.
To add a color, simply tap the image in the desired location. To delete a color, click on the small grey "x" in the top left-hand corner of the desired color.

3. Cropping the image (Optional)
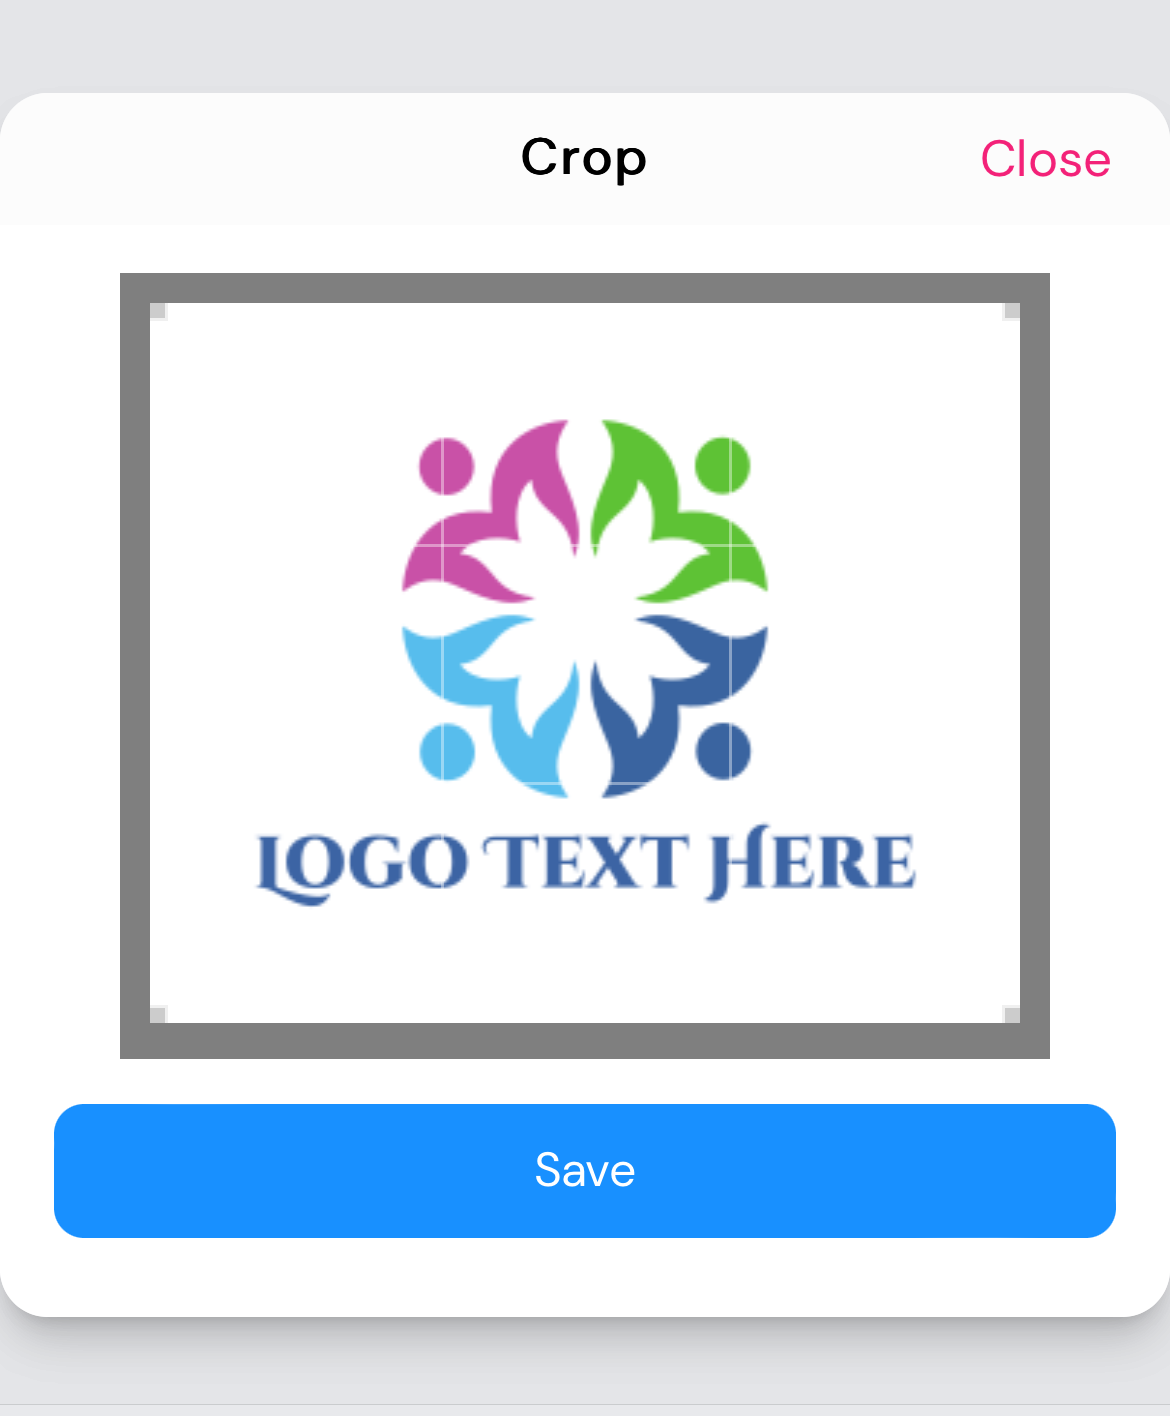
The “Crop” tool can be used to cut down the image. Tap the “Crop” button to bring up the cropping menu. Drag the corners of the highlight window to control which parts of the image will be in the final SVG. Only parts of the image inside the highlight box will be included in the final SVG. Then select the blue “Save” button at the bottom of the window. Your image will now be cropped in the Convert Settings window
If you decide later that you want to include those portions of the image that you cropped just return to the crop tool and re-size the box to include them.

4. Convert Result
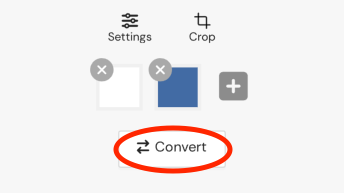
Click the “Convert” button at the bottom of the page.
It may take a few seconds while the app does its thing.

Once converted there will be a preview page showing your converted SVG. There are 2 action buttons at the bottom of this window, if you are satisfied with what you see in the preview then click next to move on to the next step, otherwise Tap the back button and repeat starting at step 1.

This will open up the editor window, where you can continue editing the SVG or export it using the instructions here . For more information on editing SVGs, see this guide .