How to Share an SVG
Are you looking for a simple way to share an SVG with your friends? Sharing your creations is easy when using the Image to SVG tool.
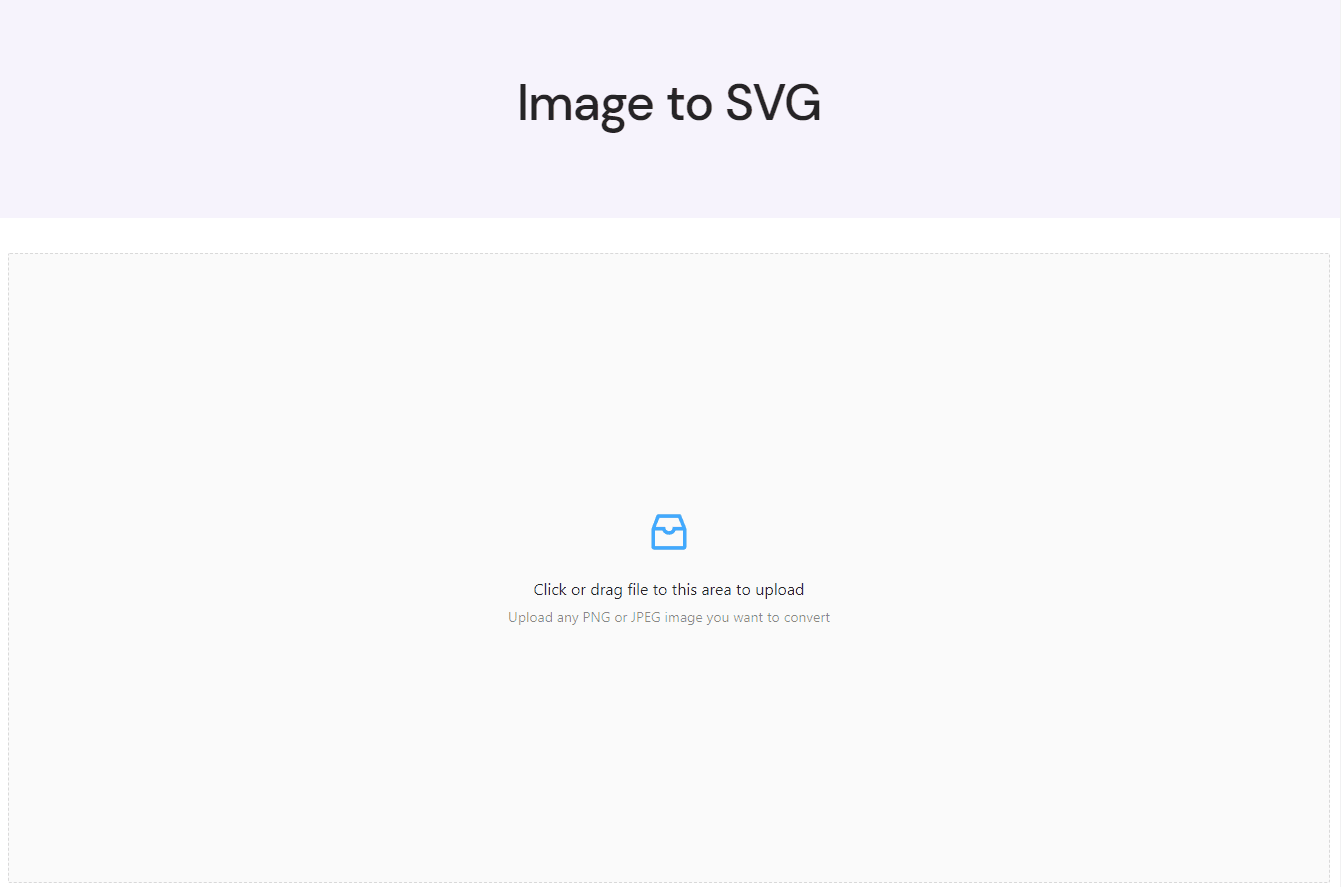
Upload Your Image
Take your image and upload it to the tool using the drag and drop menu. You can click the menu and select the file on your computer through the file explorer. Or you can drag the file from where you saved it and drop it in the window.
Select SVG Colors
This tool requires you to select the colors you want to see in the final SVG file. The colors you select are the only ones that will be in the final SVG. If there's a color in the image that you don't select, the tool will find the nearest selected color to change it to in the final SVG.
To select colors all you have to do is hover your mouse over a part of the image and click. Use the color preview on the right to check your color selection.
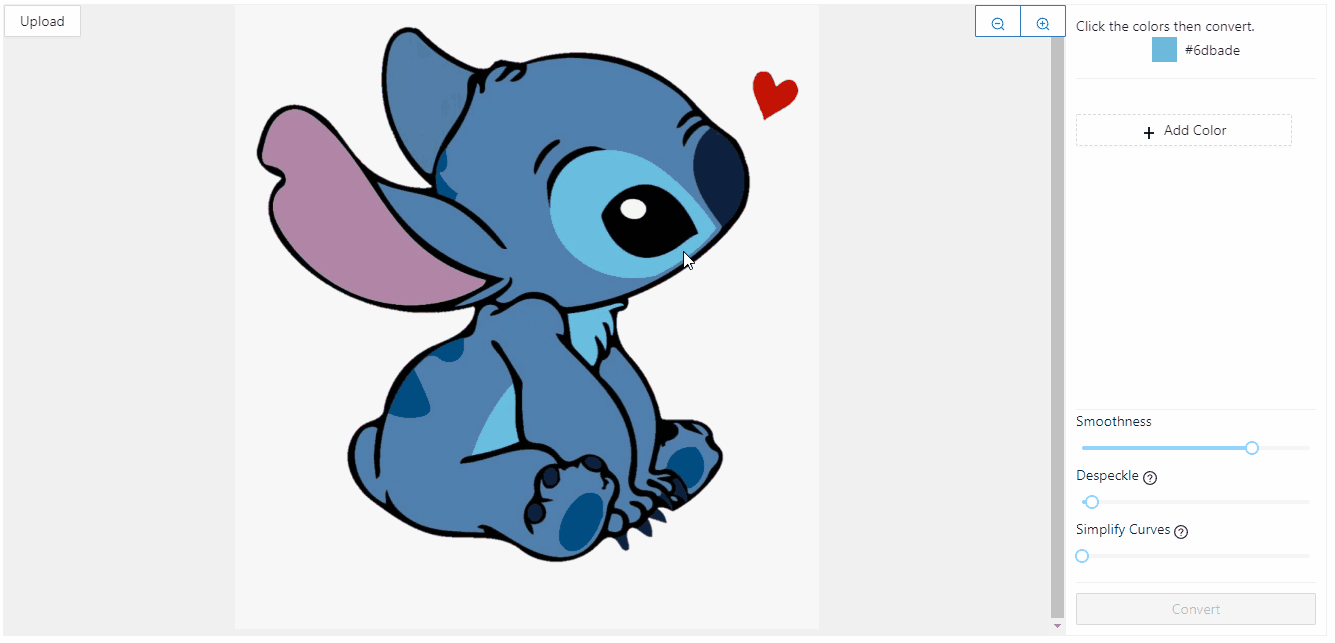
Selecting colors allows you to control how many layers the final image will have and can simplify a complex image into a Cricut-ready masterpiece. Check out the tutorial here for more information on how to perfect your SVG creation.
Convert to SVG
Once you have selected your colors, click the convert button in the lower right. It may take a minute for the image to convert, but once it does you will see the final SVG in the preview window.
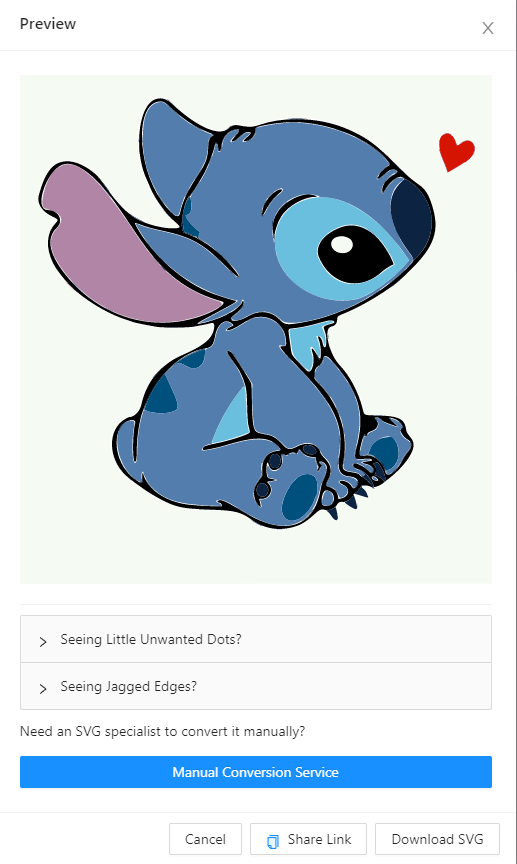
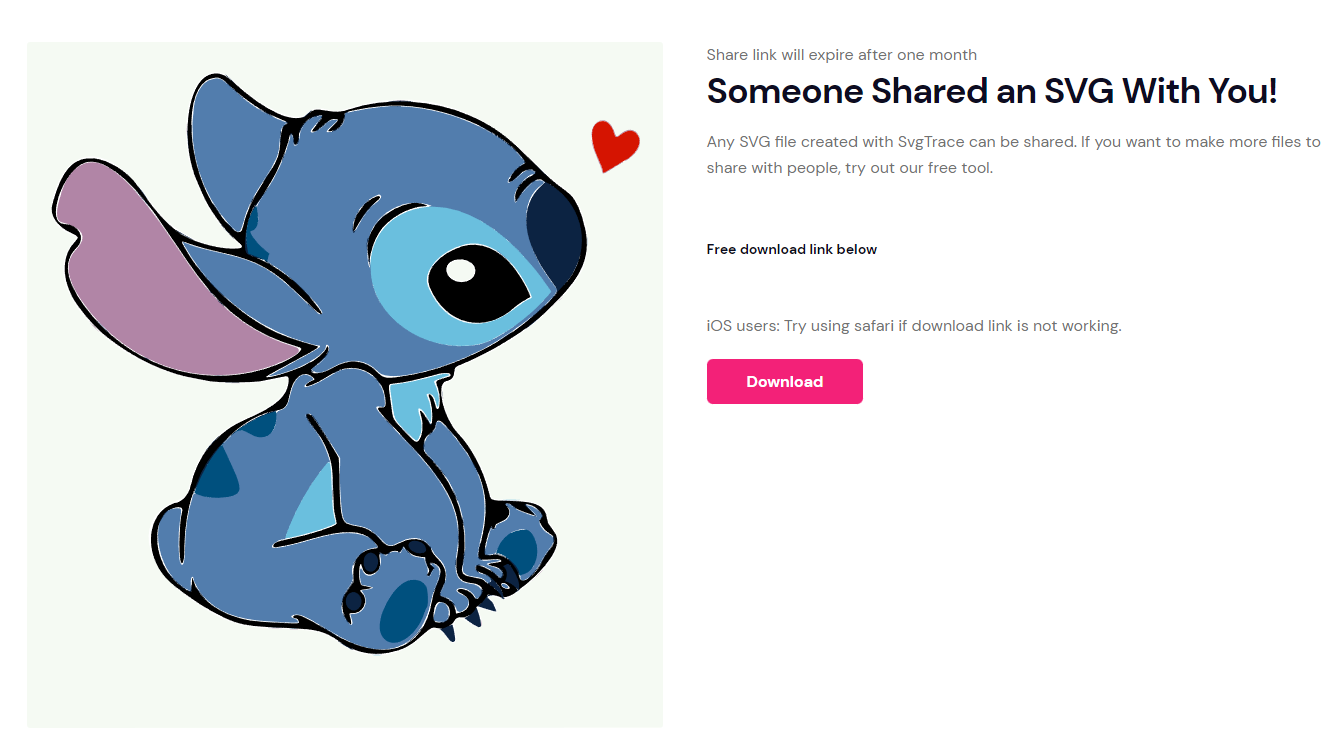
Share your SVG
After converting a preview window will appear. Click the 'Share Link’ button at the bottom and a link will be copied to your clipboard for you. Then just paste that link into any messaging service, email, comment, or post to share it. Anyone who clicks the link will be able to download the SVG.